
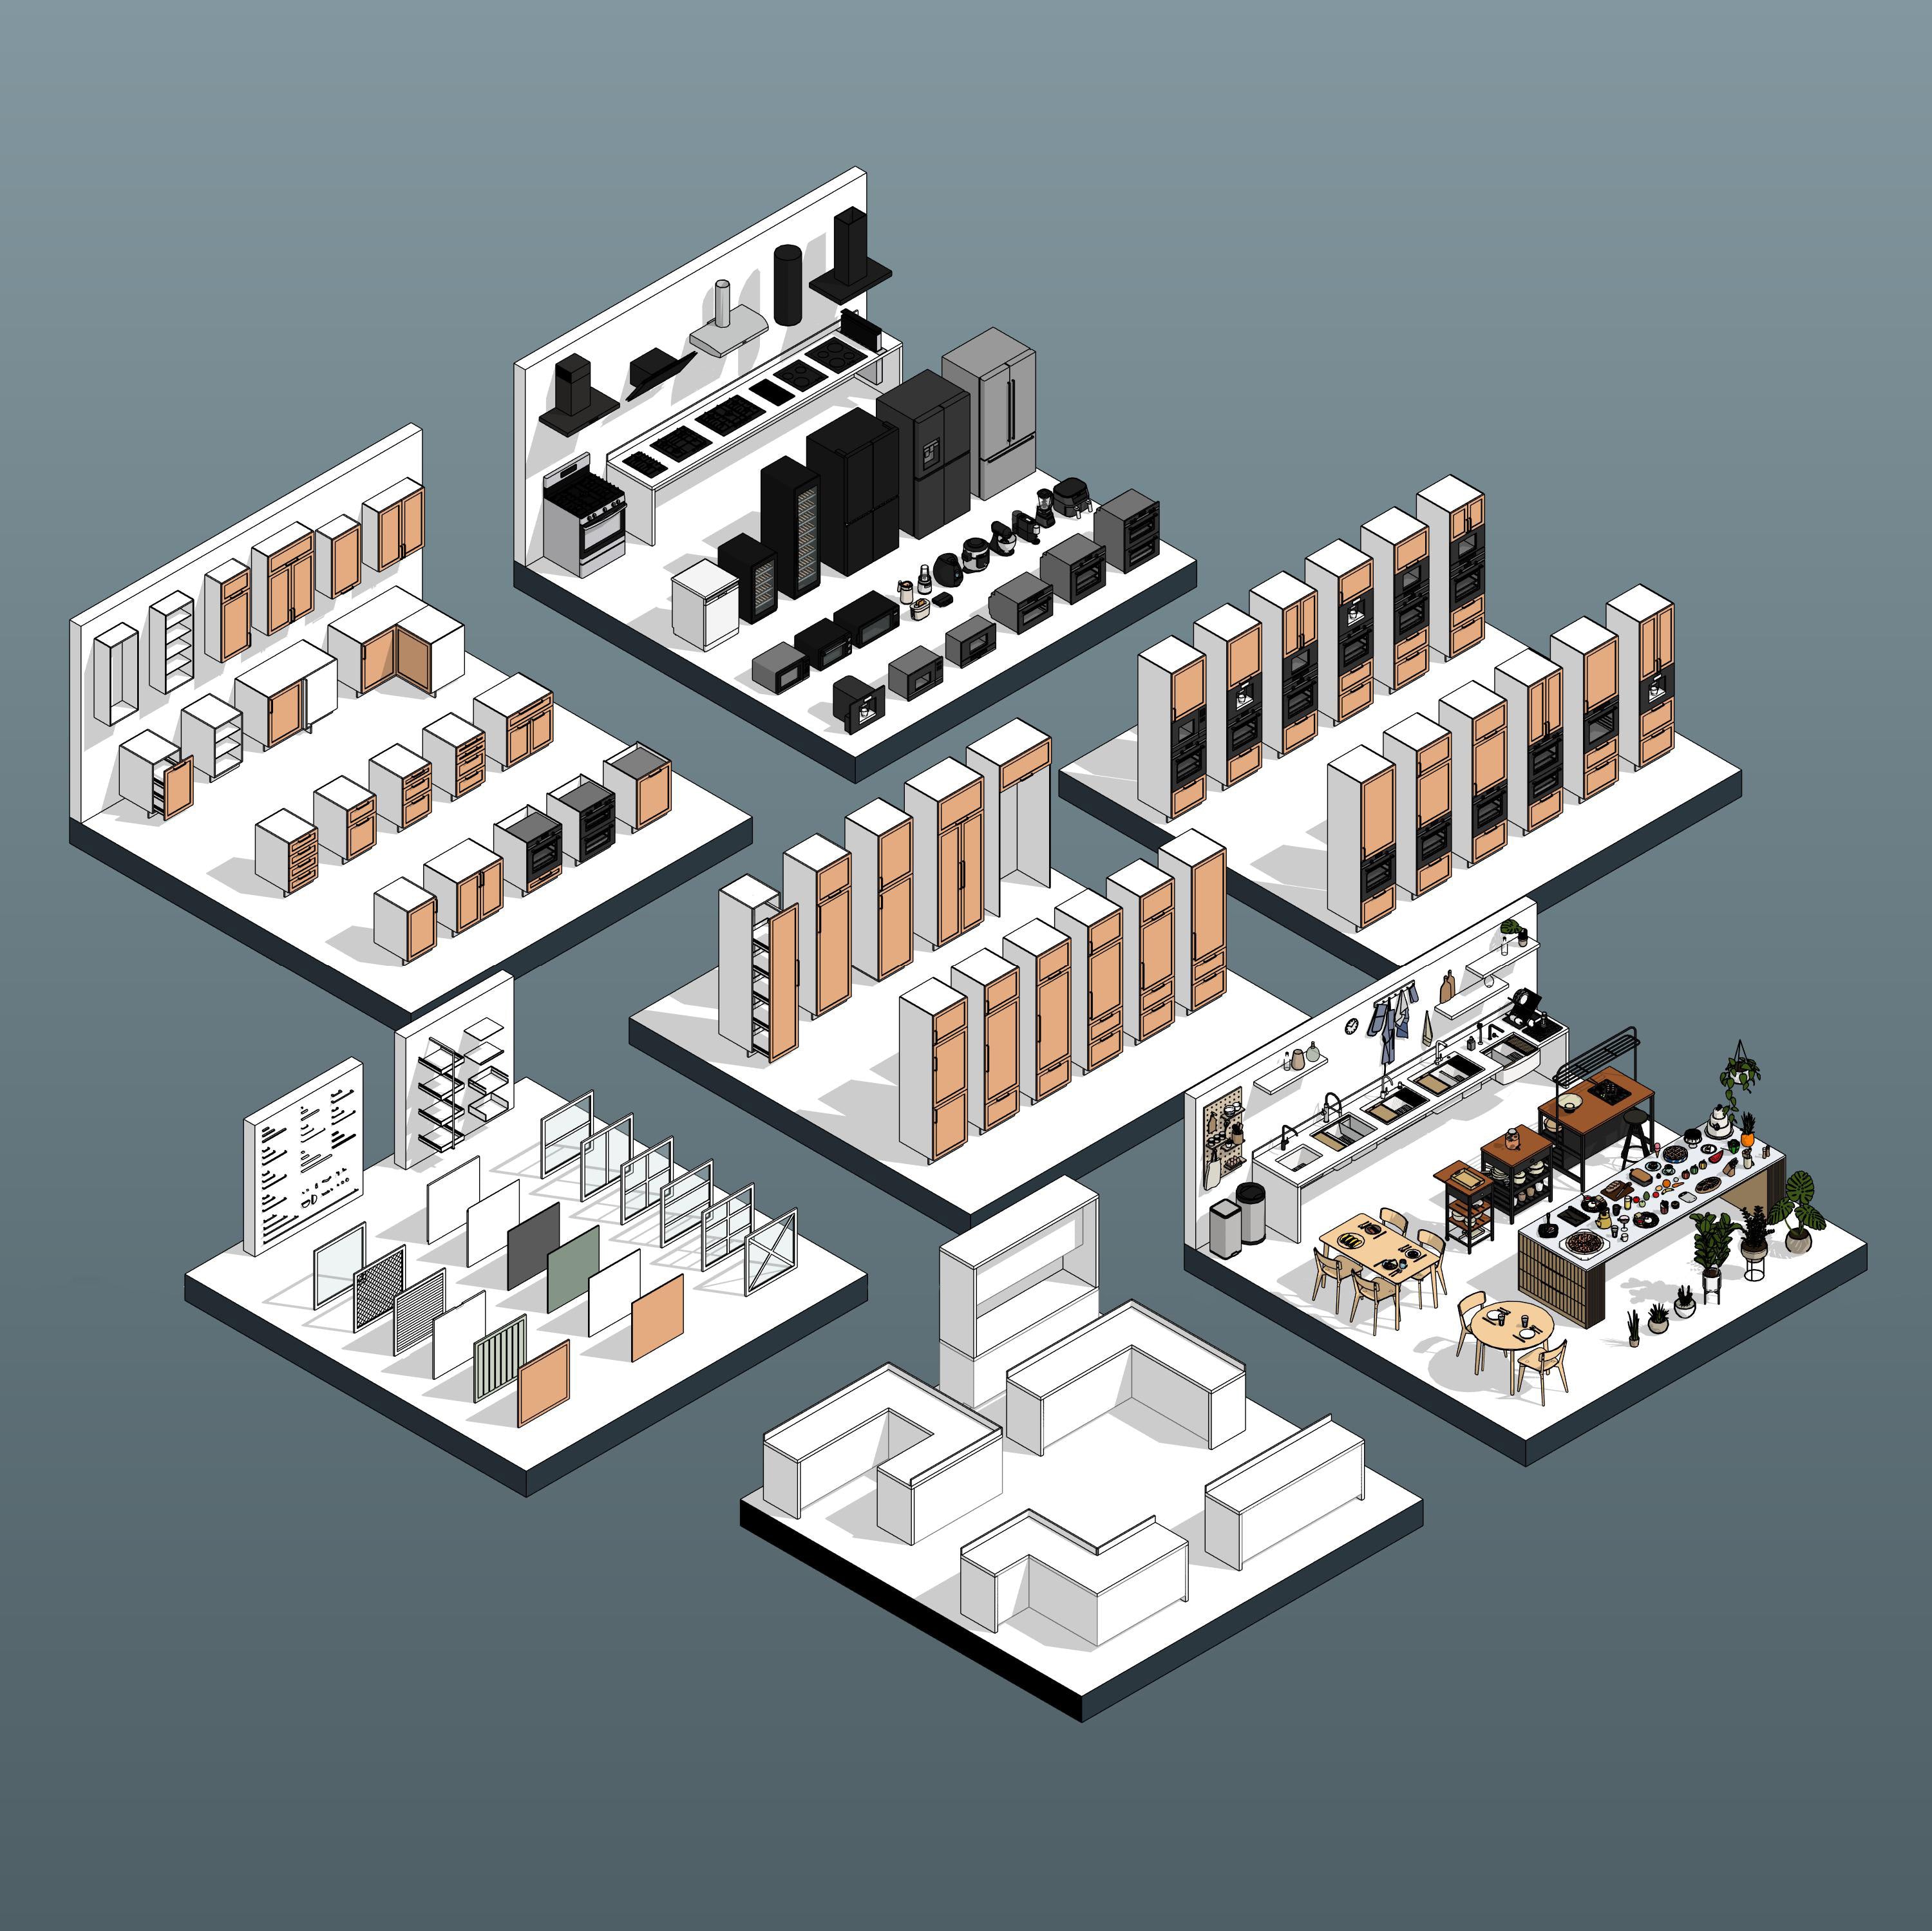


How to Download and Use Revit Families
How to Download and Use RD Studio Revit Families and Dynamo Scripts
1. How to Download
- Add the product to your cart and choose your license (Commercial or Educational).
- Go to your cart and click Checkout.
- Fill in your contact details and click Continue to Payment.
- Complete payment. Your download link appears on the confirmation page within a few minutes, and we email it to you too.
Free products: click Complete Order. No payment needed. The link arrives the same way.
2. Where to Find Your Files Later
- Click the account icon (top right) and log in.
- Open Orders. Every order, paid and free, is listed with its products.
- Open an order to download its files again, as often as you need.
Can't find the email? Search your inbox for "RD Studio", and check your spam folder.
3. Check the Revit Version and Units Before You Buy
Every product page lists Revit Version, Units System and Product Version under the title. You can open a file in that Revit version or any newer one, but not in an older one. For example, a product made for Revit 2026 opens in Revit 2027, but not in Revit 2020.

Browsing a collection? Click Filter → Units System and tick Metric or Imperial to see only matching products. The same panel also filters by Revit Version.

4. Unzip Your Download
Right-click the .zip file and choose Extract All. Keep the folder structure: some packs reference files in subfolders.
5. Load Families into Your Project
- Open your Revit project.
- Go to Insert → Load Family.
- Select one or more .rfa files and click Open.
Tip: you can also drag .rfa files from your folder straight into the Revit window.

6. Copy Elements from a Showroom File
Some packs include a showroom project file (.rvt) with everything placed and ready to use. How you copy depends on the element type.
Loadable families (furniture, fixtures, generic models)
- Open the showroom file and your project at the same time.
- In the showroom, select the elements and press Ctrl+C.
- Switch to your project and go to Modify → Paste → Aligned to Selected Levels (or paste anywhere and move).
Or: in the showroom's Project Browser, open Families, right-click the family, choose Edit, then Load into Project.
Railings, stairs and wall sweeps (system families)
These live only inside a project file, so they can't be loaded as .rfa files.
- Open the showroom file and your project.
- In your project, go to Manage → Transfer Project Standards.
- Choose the showroom file under Copy from.
- Tick only what you need: Railing Types, Stair Types or Wall Sweep Types (the profiles they use come along). Click OK.
Quicker for one item: copy a single railing, stair or wall with its sweep and paste it into your project. Revit brings its types and profiles along.
Fill patterns
Use Manage → Transfer Project Standards and tick Fill Patterns. Add Materials if the pattern is applied to a material.
7. Control Subcategories and Overhead Lines
Our families split their graphics into subcategories starting with RD_, so you can show, hide or restyle each part of a family in any view.
In one view: type VV to open Visibility/Graphics → Model Categories → expand the family's category (for example, Lighting Fixtures) → tick or untick the RD_ subcategories you need.
Across the whole project: go to Manage → Object Styles, expand the category, and change line weight, color or pattern for each RD_ subcategory.
Common subcategories:
- RD_Geometry: the main 3D body
- RD_Plan Overhead Lines: dashed outline in plan for items above the cut plane (pendant lights, wall-mounted units)
- RD_Plan Opening Lines / RD_Elevation Opening Lines: door and drawer swing lines
- RD_Plan Clearance Zone: required clear space around equipment
Overhead lines: families that hang above the plan cut (pendants, fans, wall units) show a dashed outline in plan. Select the family and use the Plan Overhead Lines checkbox in Properties to turn it on or off, and Plan Overhead Lines Distance to adjust when it appears.
8. Dynamo Scripts
Run a script in Dynamo
- In Revit, go to Manage → Dynamo.
- Click File → Open and choose the .dyn file.
- Click Run.


Run a script with Dynamo Player
- Go to Manage → Dynamo Player.
- Click Browse to Folder and pick the folder with the scripts.
- Click Play on a script. If it has inputs, set them first under Edit Inputs.


Install required packages
Some scripts need extra Dynamo packages. Each product page lists them.
- In Dynamo, go to Packages → Search for Packages.
- Find the package and click the download arrow.
- If you see a warning about Python scripts or binaries, click OK. This is normal.


If a script shows errors
- Usually a package is missing. Open Workspace References in Dynamo to see which.
- Check the Dynamo version on the product page. Scripts can behave differently across Revit and Dynamo versions.
- If Dynamo Player fails, open the script in Dynamo itself to see the error.

Before you run any script: save your project, or better, work on a copy. Scripts can change many elements at once. Close and reopen Dynamo between runs of the same script.
Still Need Help?
Email support@rdstudio.co with your order number and a screenshot of the issue.