
How to Model Breeze Blocks in Revit
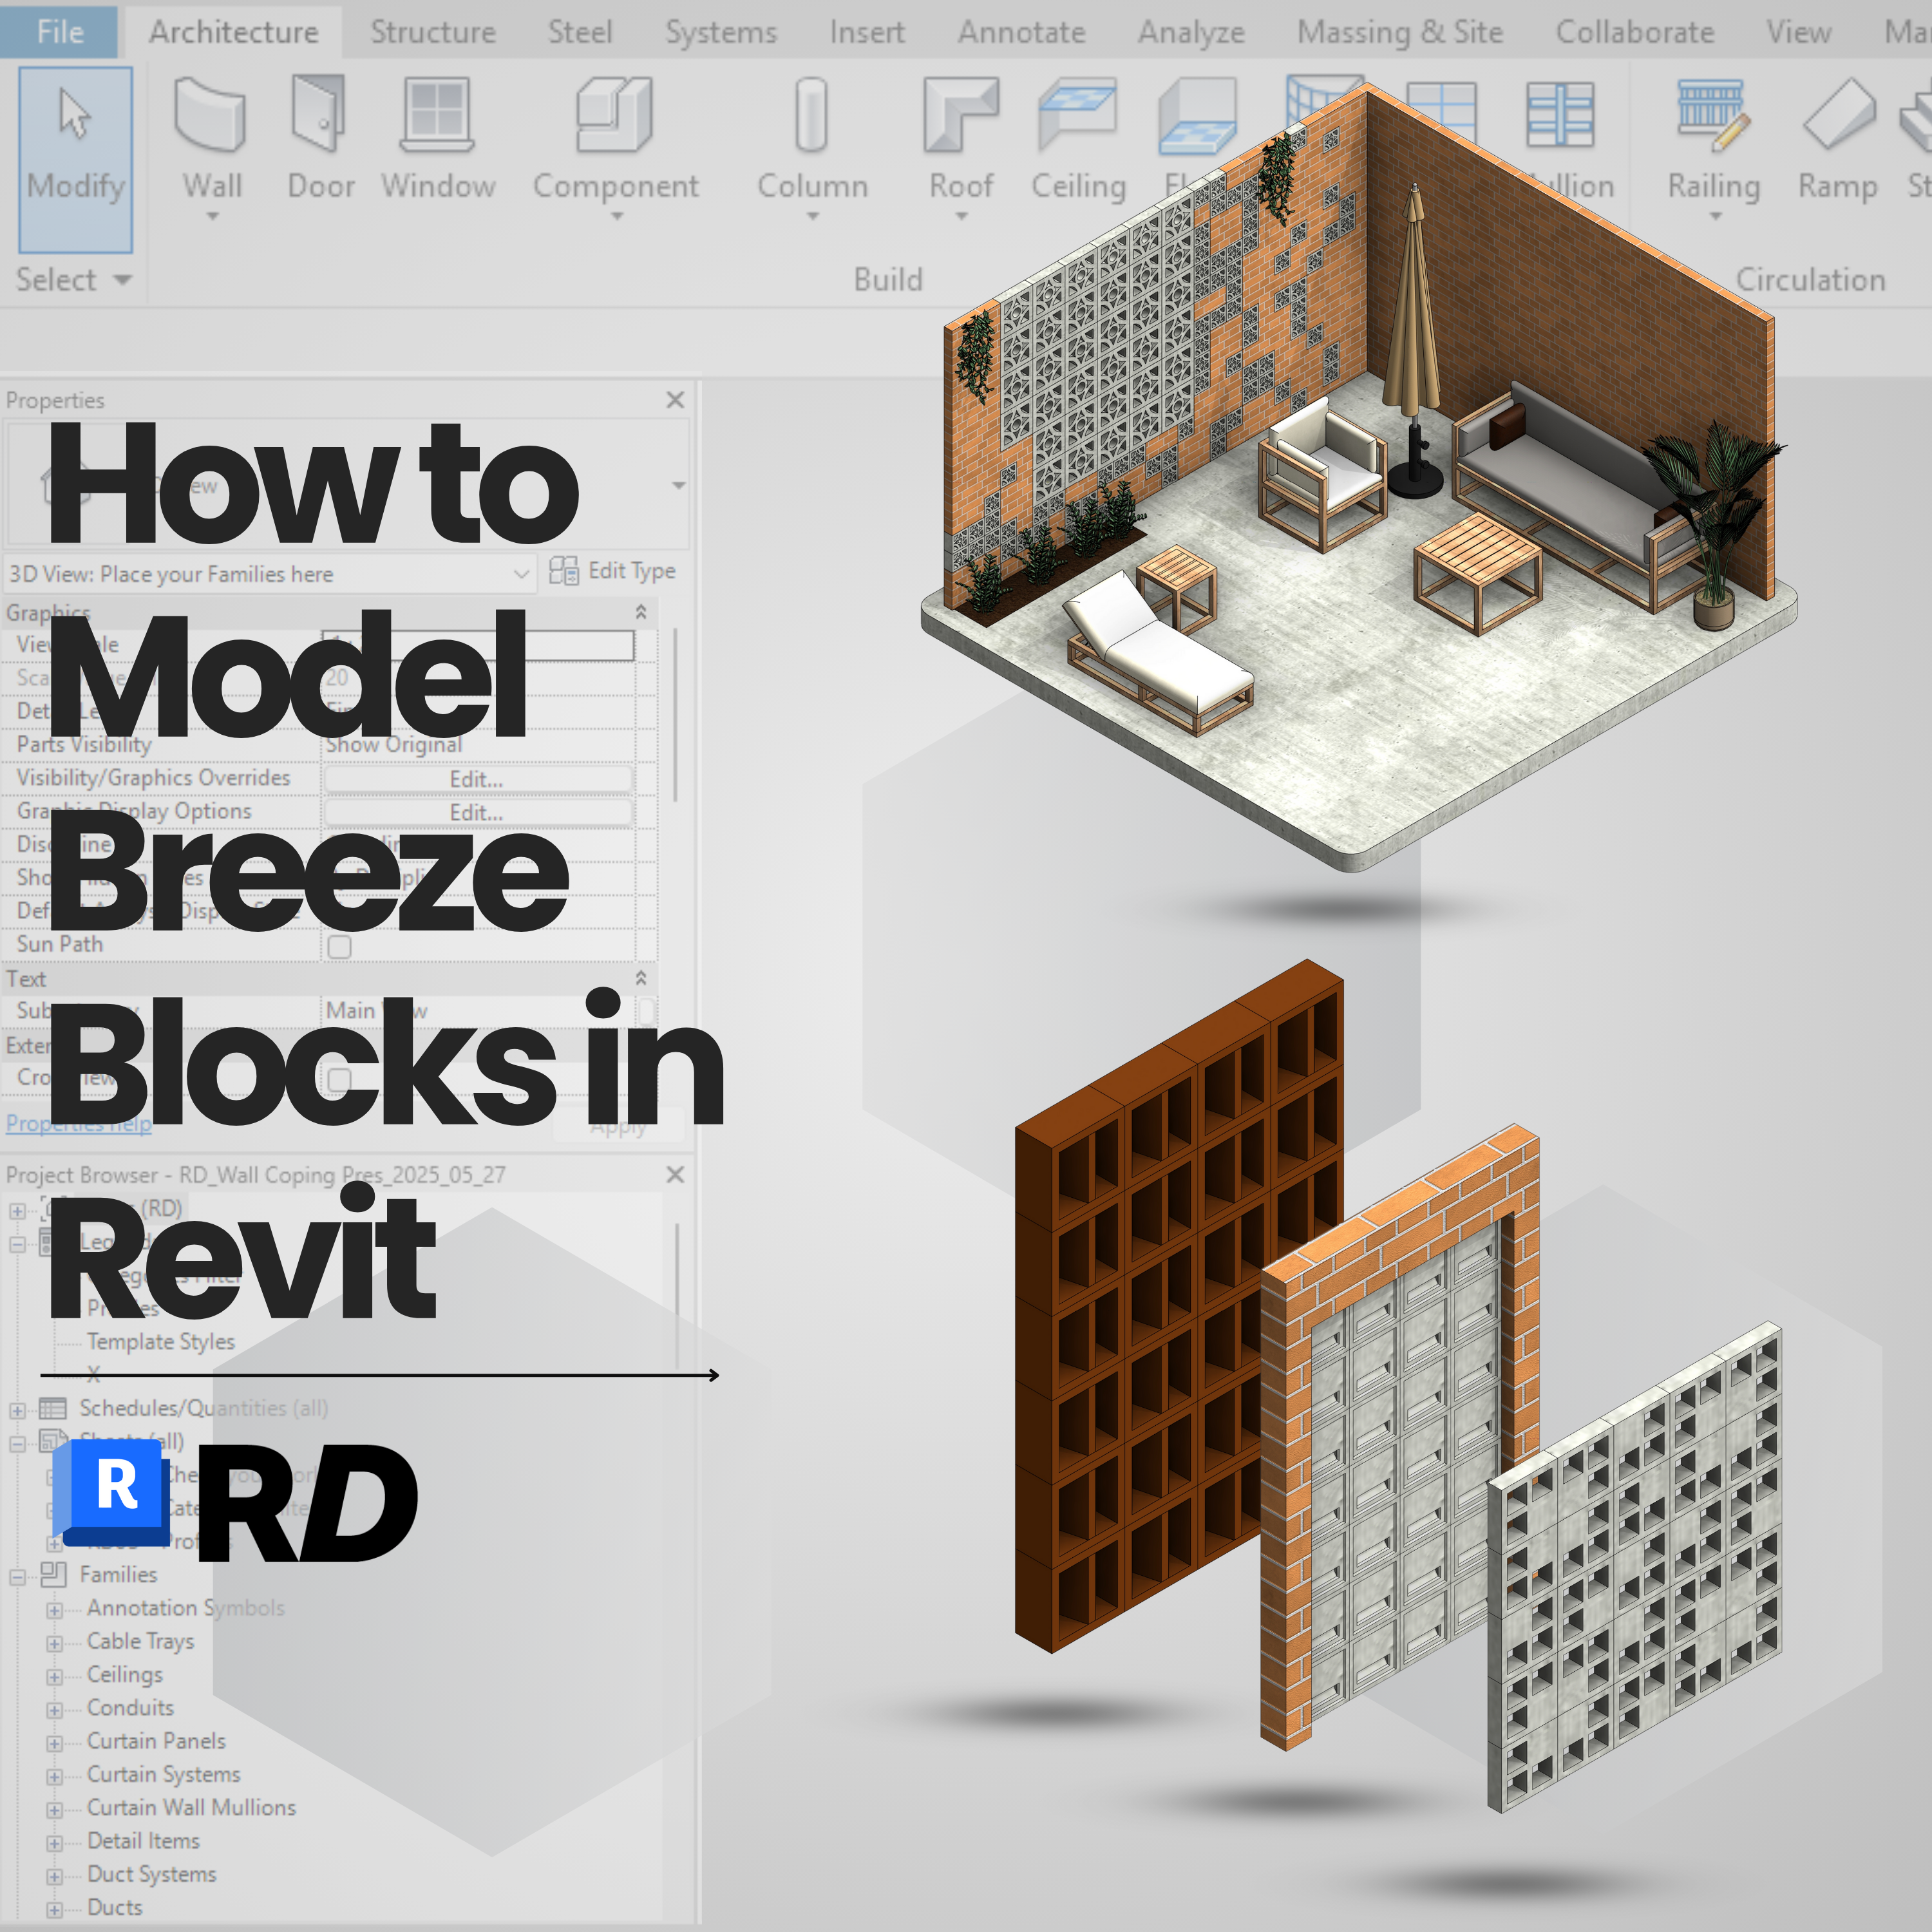
Looking to model breeze blocks in Revit quickly and cleanly? This guide will walk you through smart techniques using RD Studio’s professional Revit family — so you can create stunning screens, partitions, or sunshade façades with full parametric control.
🎯 Common Mistakes When Modeling Breeze Blocks
- ❌ Using void cuts manually for each block
- ❌ Modeling with Model In Place that takes forever
- ❌ Adding the breeze blocks as 2D annotation
- ❌ Non-parametric arrays that break when resized
✅ The Smart Way: Use Our Revit Breeze Block Family Pack
At RD Studio, we built a professional parametric family that includes:
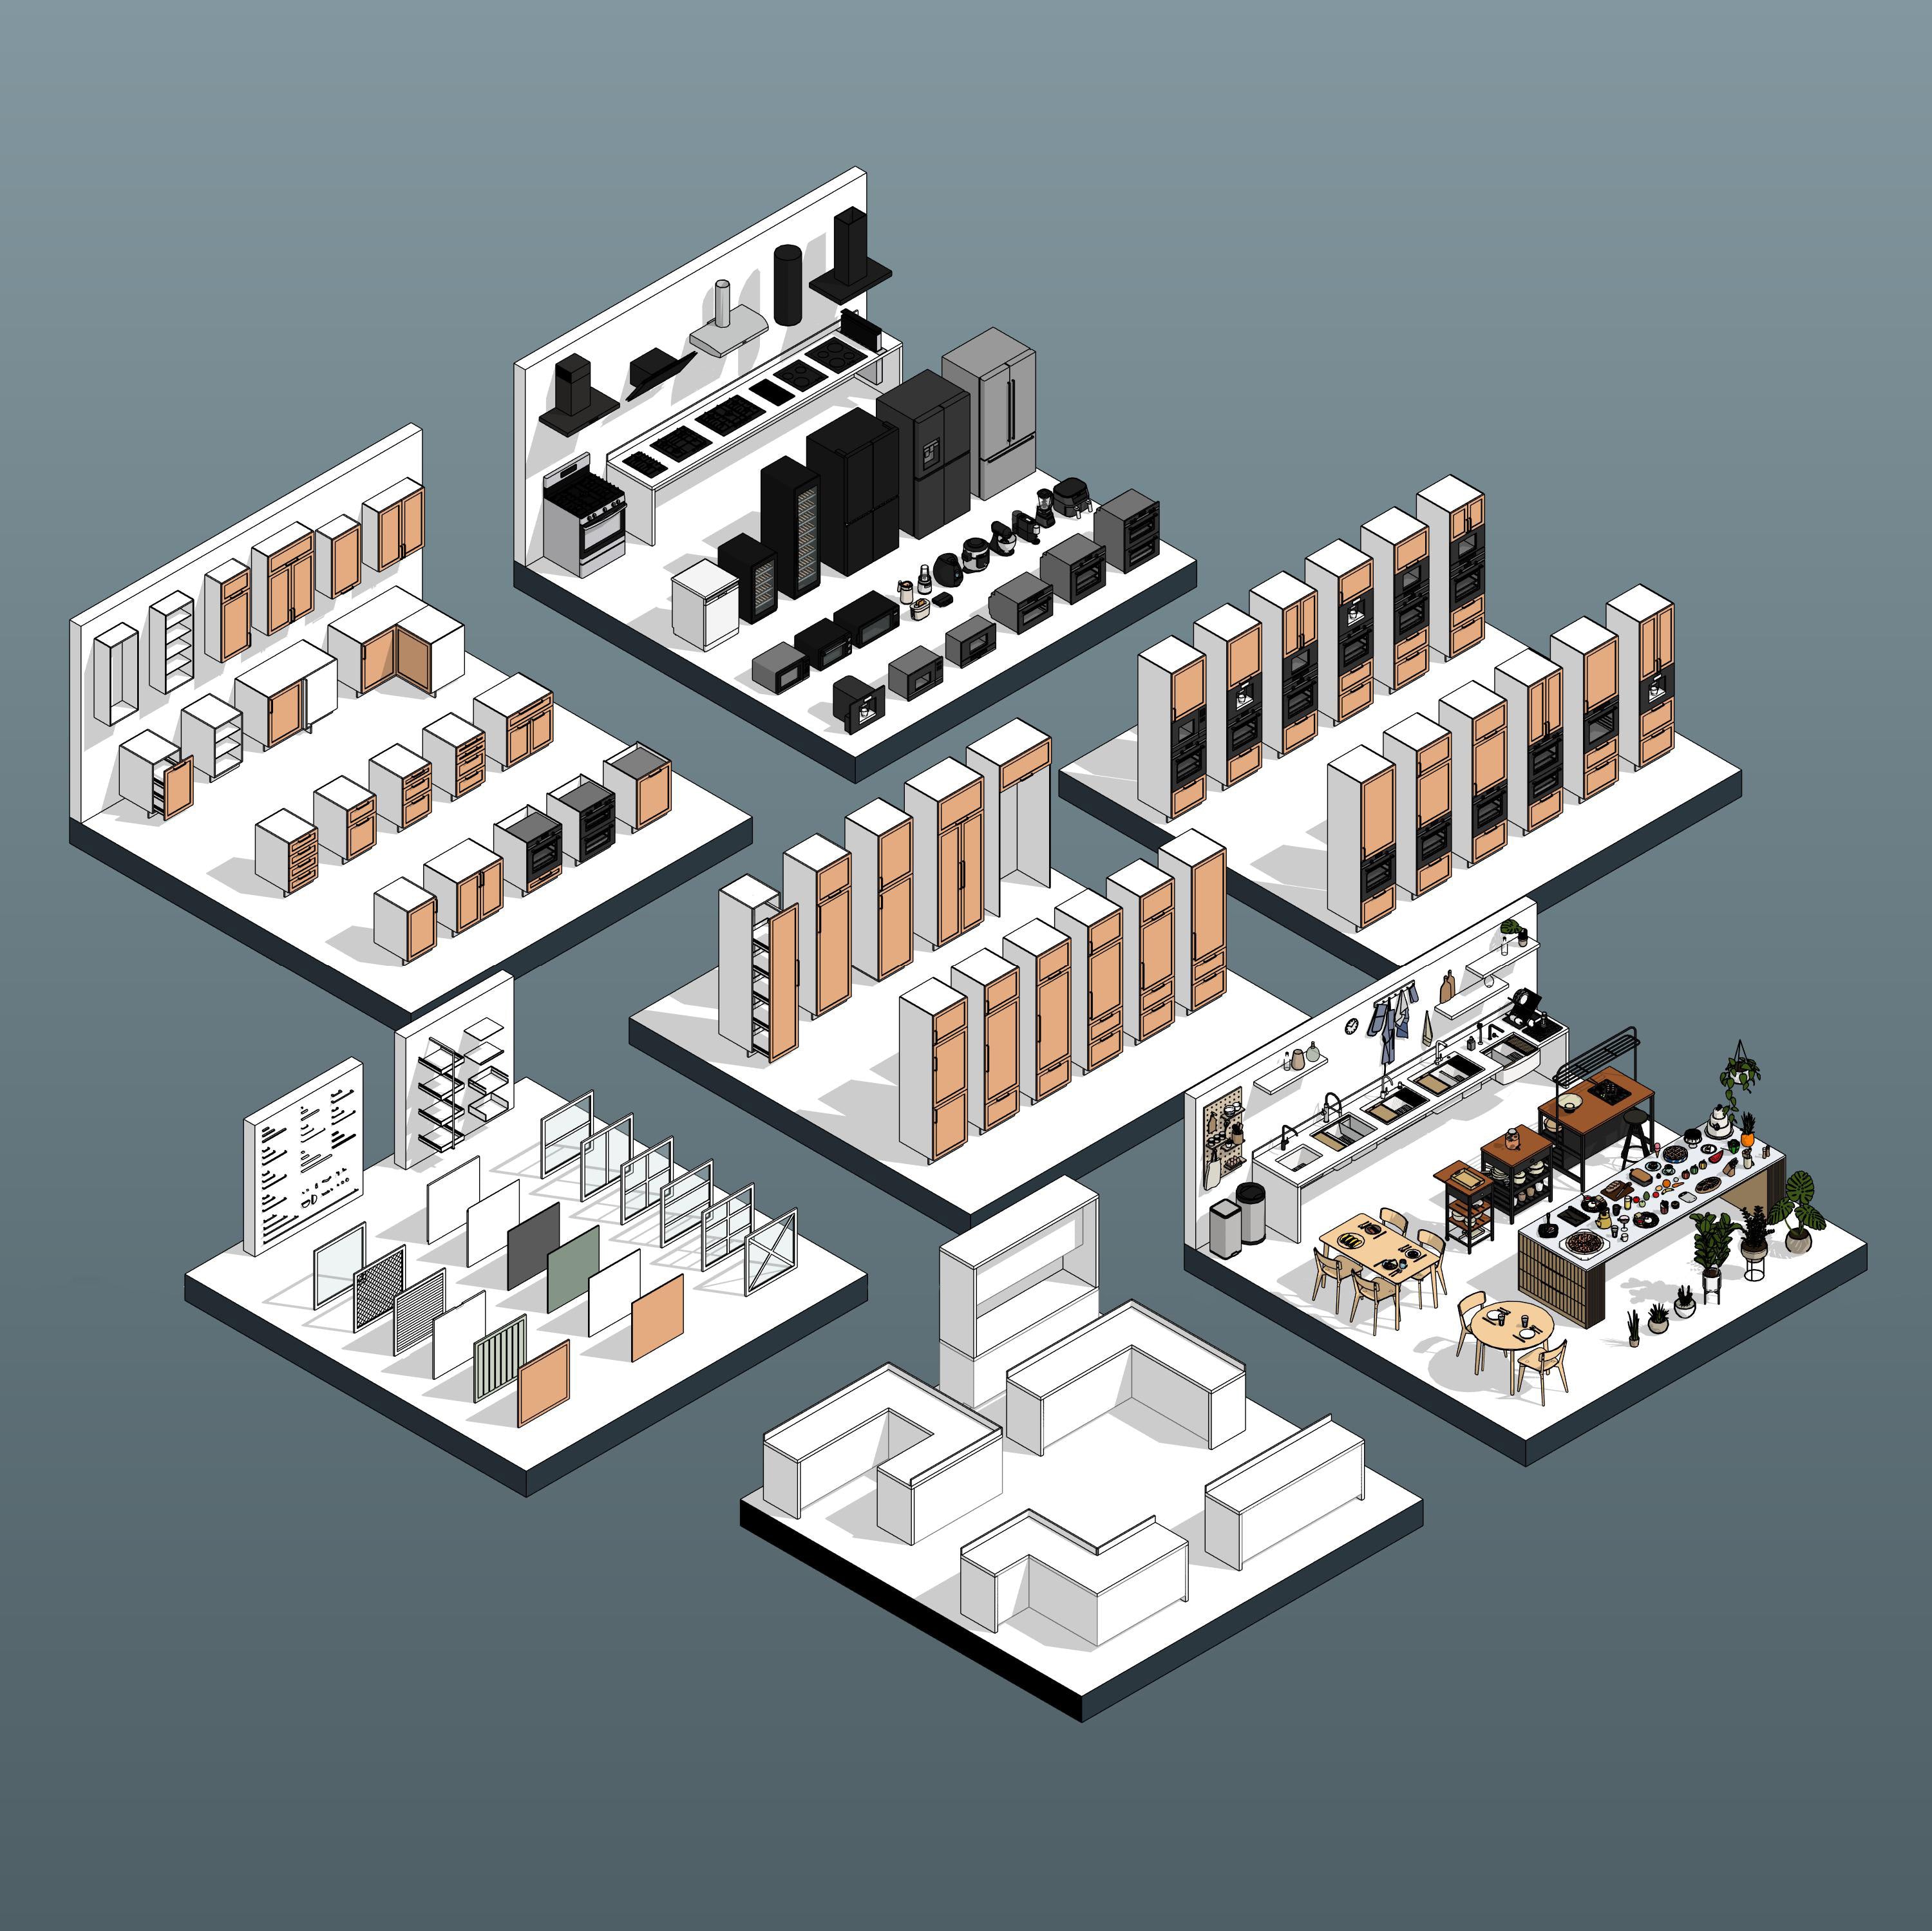
- 📐 A professional library of Curtain Walls with Custom made curtain panels
- 🧱 36 different breeze block designs!
- 🔁 Adjustable grid size (rows, columns) in seconds
- 📦 Can be embedded into other walls, or used as stand alone partitions
- 💡 Works great in walls, facades, or interior partitions
👉 Explore the Revit Breeze Blocks Collection

🧰 How to Use This Family in Your Project
- Open the Showroom File
- Copy a curtain wall type
- Model the curtain wall
- Adjust the rows and columns grid spacing from Type Properties
- Optionally adjust block depth, material, or host wall offset
This is a Revit curtain wall system family, meaning you can embed it on walls or reference planes — perfect for panels, partitions, or cladding elements.
🔍 How to Create a Breeze Block Curtain Wall in Revit - The Basics First
This video tutorial demonstrates the fastest way to insert a pre-made curtain wall with breeze blocks from the RD Studio family. Learn the basics:
- How to model a Breeze Block wall inside an existing Wall
- How to resize and duplicate the panel types
- How to replace selected bricks and create custom designs
- How to adjust the materials and block thickness
🔍 How to Create an Advanced Custom Breeze Block Wall Design
This advanced tutorial shows how to embed a custom curtain wall inside a base wall and manually create openings for breeze blocks.
- Load the Showroom File
- Create Base Wall
- Copy Curtain Panel from the Showroom
- Embed the curtain wall into the base wall
- Adjust the size according to preference
- Create model-in-place > void extrusions > set plane > select the base wall
- Plot the holes for the blocks
- Insert the blocks inside the hole
- Repeat actions 6-8 until target design is achieved
- Done! ✅
💬 Architect Tip
Use a transparent material and add shadow-casting to your rendering setup — breeze blocks look stunning with indirect lighting. You can even place them in front of windows to simulate a natural ventilation screen.
🎁 Get the Family – Free Sample Available
You can test one of the breeze block patterns completely free.
→ Download the Breeze Block Family
→ Download the Breeze Block Free Revit Sample
🧠 Why It Matters
Breeze blocks are popular again — in modern homes, tropical resorts, and even urban projects. But Revit users haven’t had a proper way to model them until now. Stop hacking geometry and start using a family designed for flexibility and performance.
This family is lightweight, parametric, and professionally documented — so you can finally use breeze blocks in a way that works in plan, elevation, and render views.
📚 FAQ: Modeling Breeze Blocks in Revit
Can I adjust the spacing between breeze blocks?
Yes — just change the curtain wall grid spacing in the Type Properties panel. You can control rows and columns independently.
Can I swap out the breeze block pattern?
Yes. Each curtain panel type corresponds to a different breeze block design. Duplicate and assign a new panel to the wall.
Which Revit versions are supported?
Our families are modeled in Revit 2020 for maximum compatibility. They will work in Revit 2020 and all newer versions.
Is this family face-based or wall-based?
It’s built as a Curtain Wall family — meaning you can place it anywhere you would place a typical curtain wall system, including embedded into walls or freestanding.


Leave a comment