
7 Ways to Model Slatted Counters in Revit

How to Model a Slatted Counter in Revit ☕
Slatted counters are one of the most recognizable features in modern coffee shops, cafés, and retail interiors. The repeated wood slats add warmth, texture, and rhythm, making the counter a strong focal point for the entire space.
But modeling slatted surfaces in Revit can be tricky. Should you model each slat individually? Use seamless textures? Or build complex parametric panels?
In this tutorial, we explore multiple practical workflows for modeling slatted counters in Revit, ranging from lightweight visualization methods to highly detailed BIM-ready solutions. Watch the full video tutorial below, or keep reading to see the workflow breakdowns!
🎯 Common Challenges When Modeling Slatted Counters in Revit
Many designers run into similar issues when trying to model slatted counters:
- Modeling each slat manually (which becomes extremely heavy)
- Using model-in-place geometry that’s difficult to edit
- Creating overly complex arrays that break when resizing
- Spending too much time modeling details that won’t be visible in renders
The goal is to find the right method depending on the level of detail your project requires. In this tutorial, we demonstrate several workflows used in real design projects.
🎒 Method 1: Creating Slats Using Textures Only
The fastest and lightest way to model a slatted counter is by using materials with bump textures.
Instead of modeling physical slats, we applied a wood texture with a bump map to create the illusion of depth. This method works great when:
- You need quick concept models
- The slats are not visible in section details
- You want faster rendering performance


Revit Commercial Countertops
Need a base to apply your textures to? Upgrade your commercial interiors with this pack of 10 fully parametric Revit countertop families. Adjust dimensions, materials, and edge details to fit perfectly.
Shop the Pack →🎒 Method 2: Using Wood Panel Revit Families
For a more realistic result, we modeled the slats using our RD Studio wood panel Revit family. In this workflow, we place the panel families across the counter facade to create real slatted geometry.
- Real 3D depth and shadows
- Works well for close-up renders
- Easy to adjust spacing and layout
- Fully parametric elements


Revit Wood Panels
Instantly generate detailed facades without heavy manual modeling. Download a pack of 16 Wood Panels featuring the most popular patterns. Each Family includes an option for straight and curved panels.
Shop the Pack →🎒 Method 3: Marble Counter with Elevated Slats
Next, we explored a premium counter design by combining a marble countertop with elevated wood slats.
- Strong shadow lines
- A floating panel aesthetic
- A more luxurious interior look


🎒 Method 4: Wood Counter with Wood on Top
Another variation features a wood panel facade with an elevated wood element placed on top of the counter.
- Vertical wood panels form the facade
- A raised wood block adds layered detail


🎒 Method 5: Rounded Corner Counter with Horizontal Slats
Curved counters can add softness and flow to interior layouts.
- Better circulation
- Strong design statement
- Ideal for corner layouts


🎒 Method 6: Counter with Horizontal Slats
Horizontal slats emphasize width and continuity, making the counter appear longer and more modern.
- Contemporary coffee shops
- Retail counters
- Minimalist interiors


🎒 Method 7: Counter with Track Lighting

Track lighting enhances the texture and depth of slatted surfaces.
- Creates strong shadows
- Highlights materials
- Improves render realism


Revit Track Lights System - Ultimate Pack
Download 66 lightweight, fully parametric families designed to streamline modern lighting design in Revit. Perfect for washing slatted facades with realistic light and shadow.
Shop the Pack →💡 Architect Tip
If you're rendering slatted counters, try placing directional lighting or track lights above the facade. The shadows created by the slats dramatically improve depth and realism in renders. Even subtle lighting angles can make a big difference.
▶️ Watch the Full Tutorial
Want to see the step-by-step workflow inside Revit? In the full tutorial, we demonstrate all the methods shown above so you can choose the best approach depending on your project requirements.
You’ll learn:
- Multiple workflows for modeling slatted counters
- How to balance realism and performance in Revit
- Ways to create flexible café interior designs
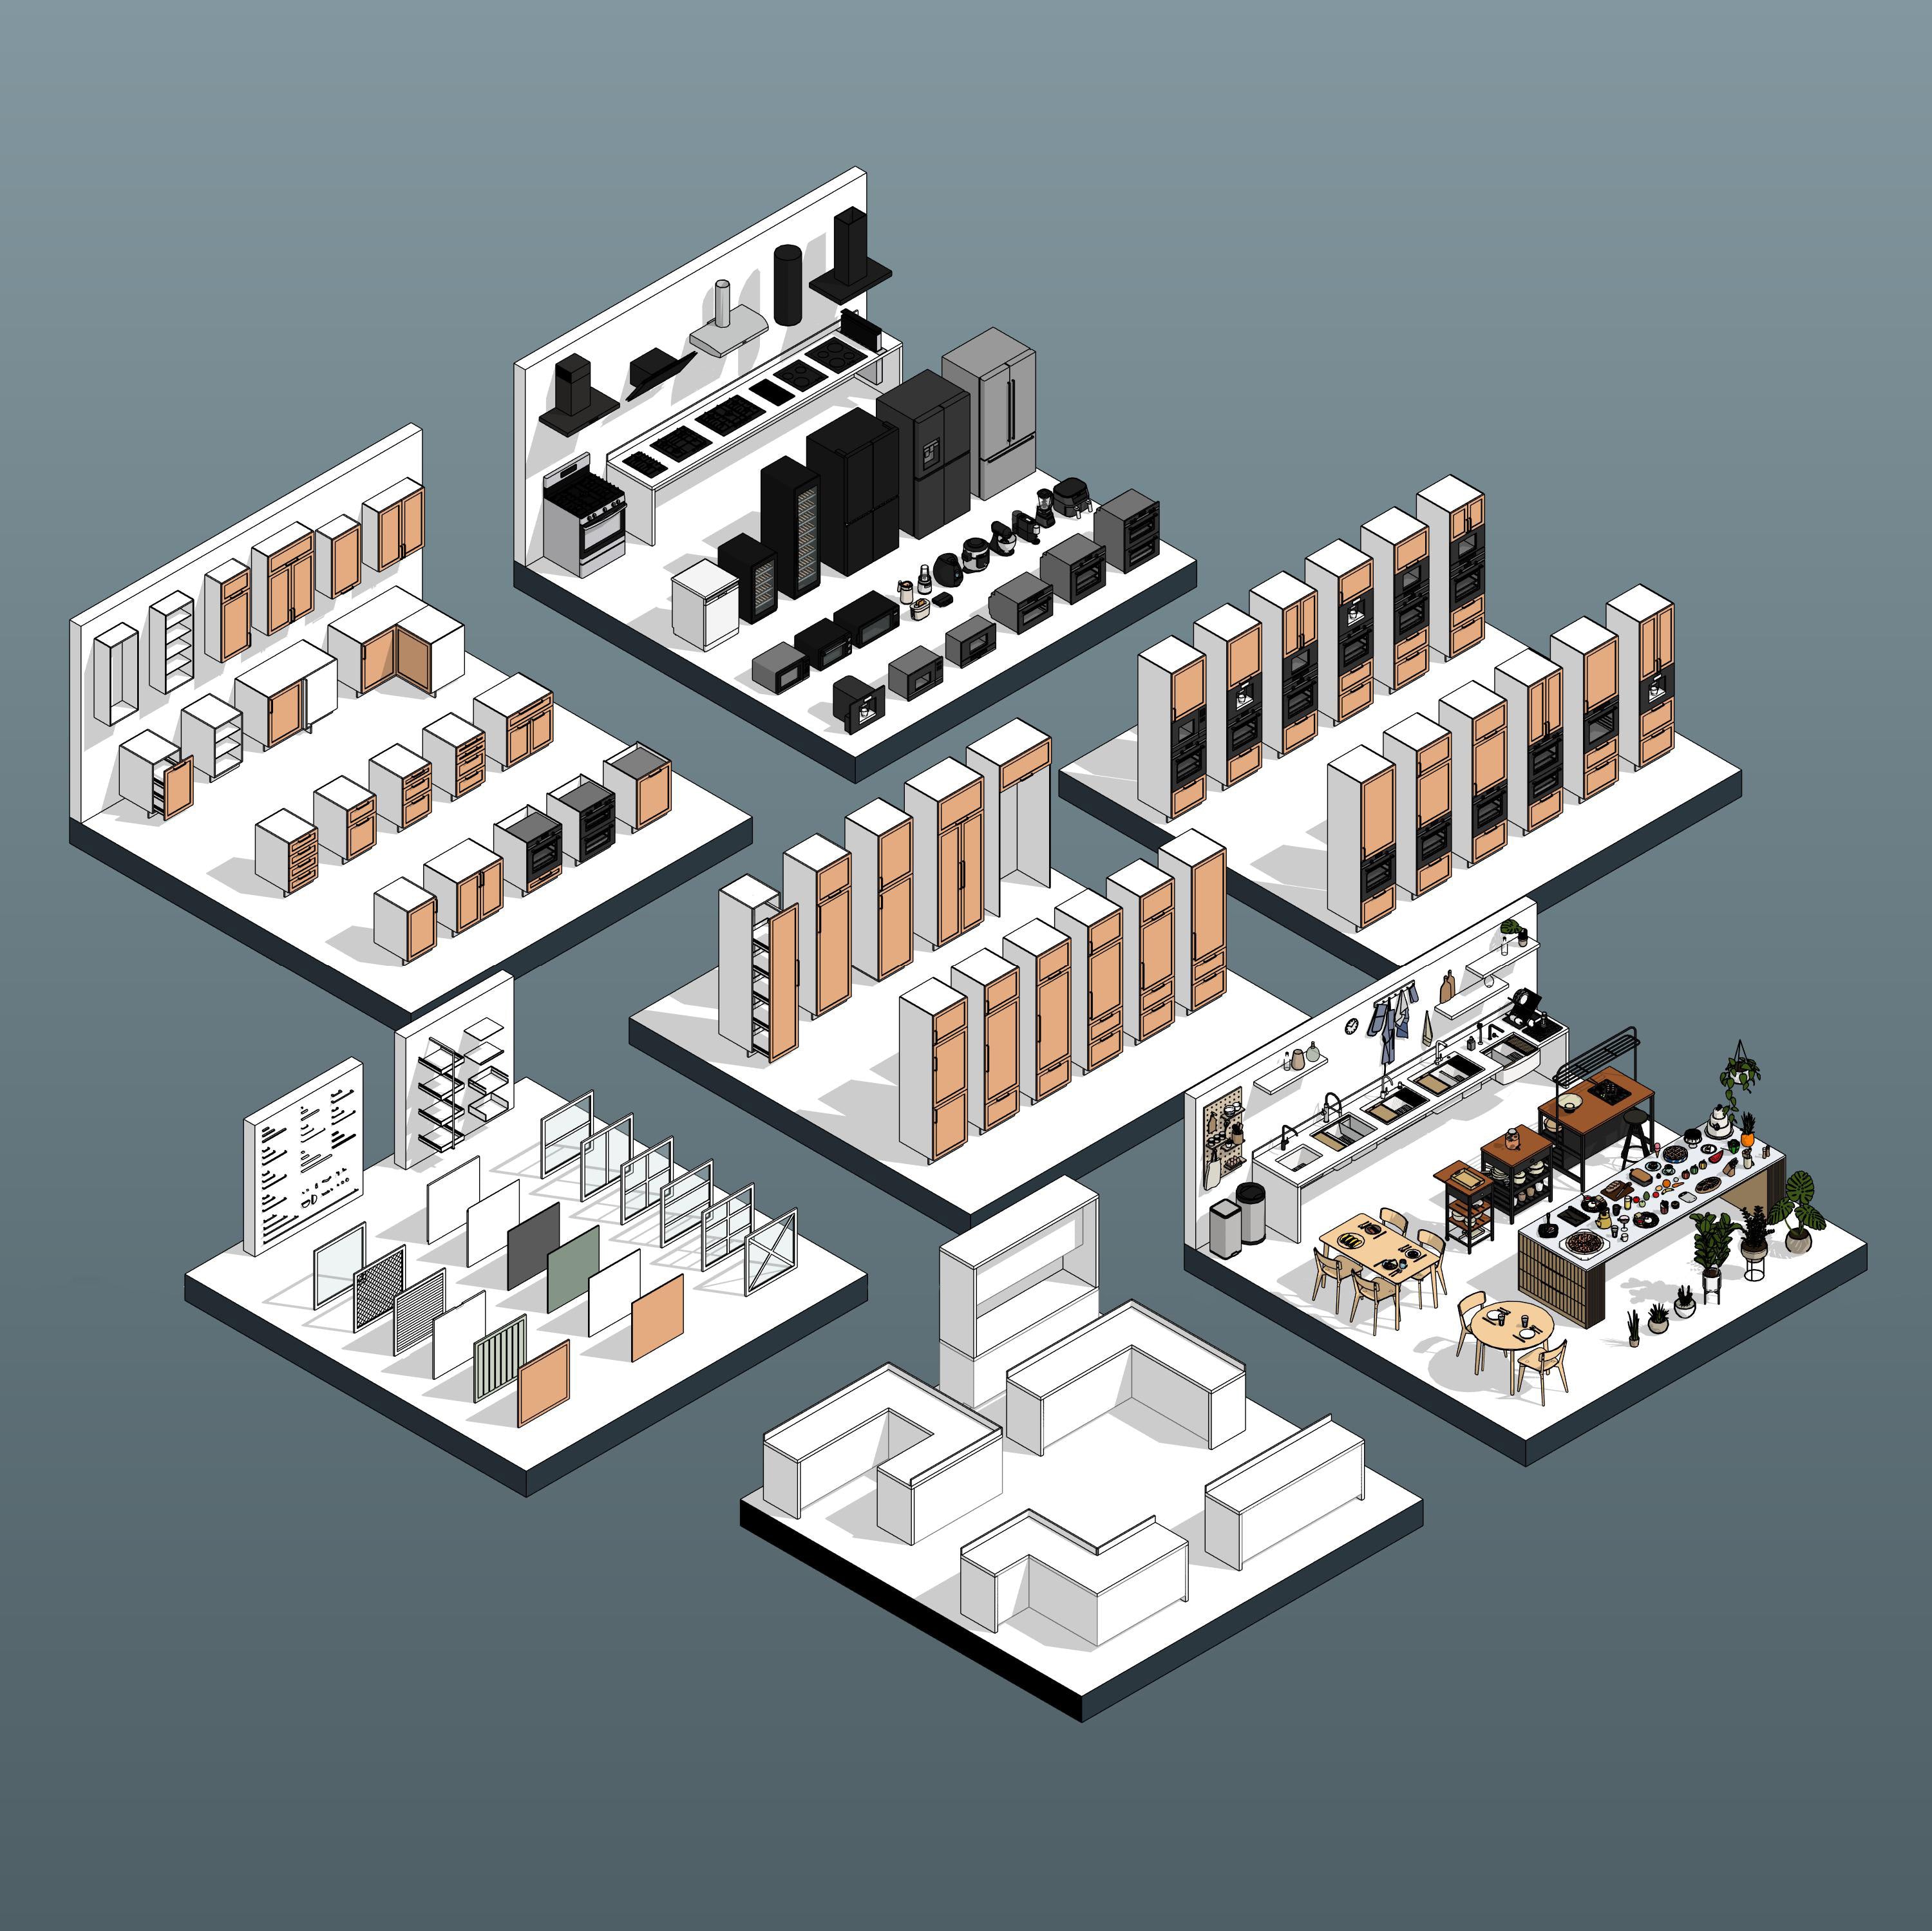
📦 Revit Packs Used in This Tutorial
To create the different counter variations shown in this tutorial, we used several RD Studio Revit Families designed for flexible interior modeling. These packs can help you quickly build coffee shop interiors, reception counters, and retail spaces without modeling everything from scratch.
💡 Revit Track Lights System - Ultimate Pack
Download 66 lightweight, fully parametric families designed to streamline modern lighting design in Revit. These face-based, non-branded track light models offer complete flexibility in layout, dimensions, profiles, and material customization.
View Product →
☕ Revit Coffee Shop Furniture and Equipment
Upgrade your hospitality and retail interiors with the Revit Coffee Shop Furniture and Equipment Pack, featuring 43 fully parametric families. Adjust dimensions, materials, and configurations to suit various layouts.
View Product → 🥐 Revit Commercial Countertops
Upgrade your commercial interiors with this pack of 10 fully parametric Revit countertop families. Designed for versatility and accuracy, each family allows you to adjust dimensions, materials, and edge details.
View Product → 🪵 Revit Wood Panels
Download a pack of 16 Wood Panels with diverse and most popular patterns. Each Family includes an option for a straight and curved panel.
View Product →


Leave a comment